Satisfactory Tips & Guides: How to Build Efficient Factories and Master Automation

Introduction
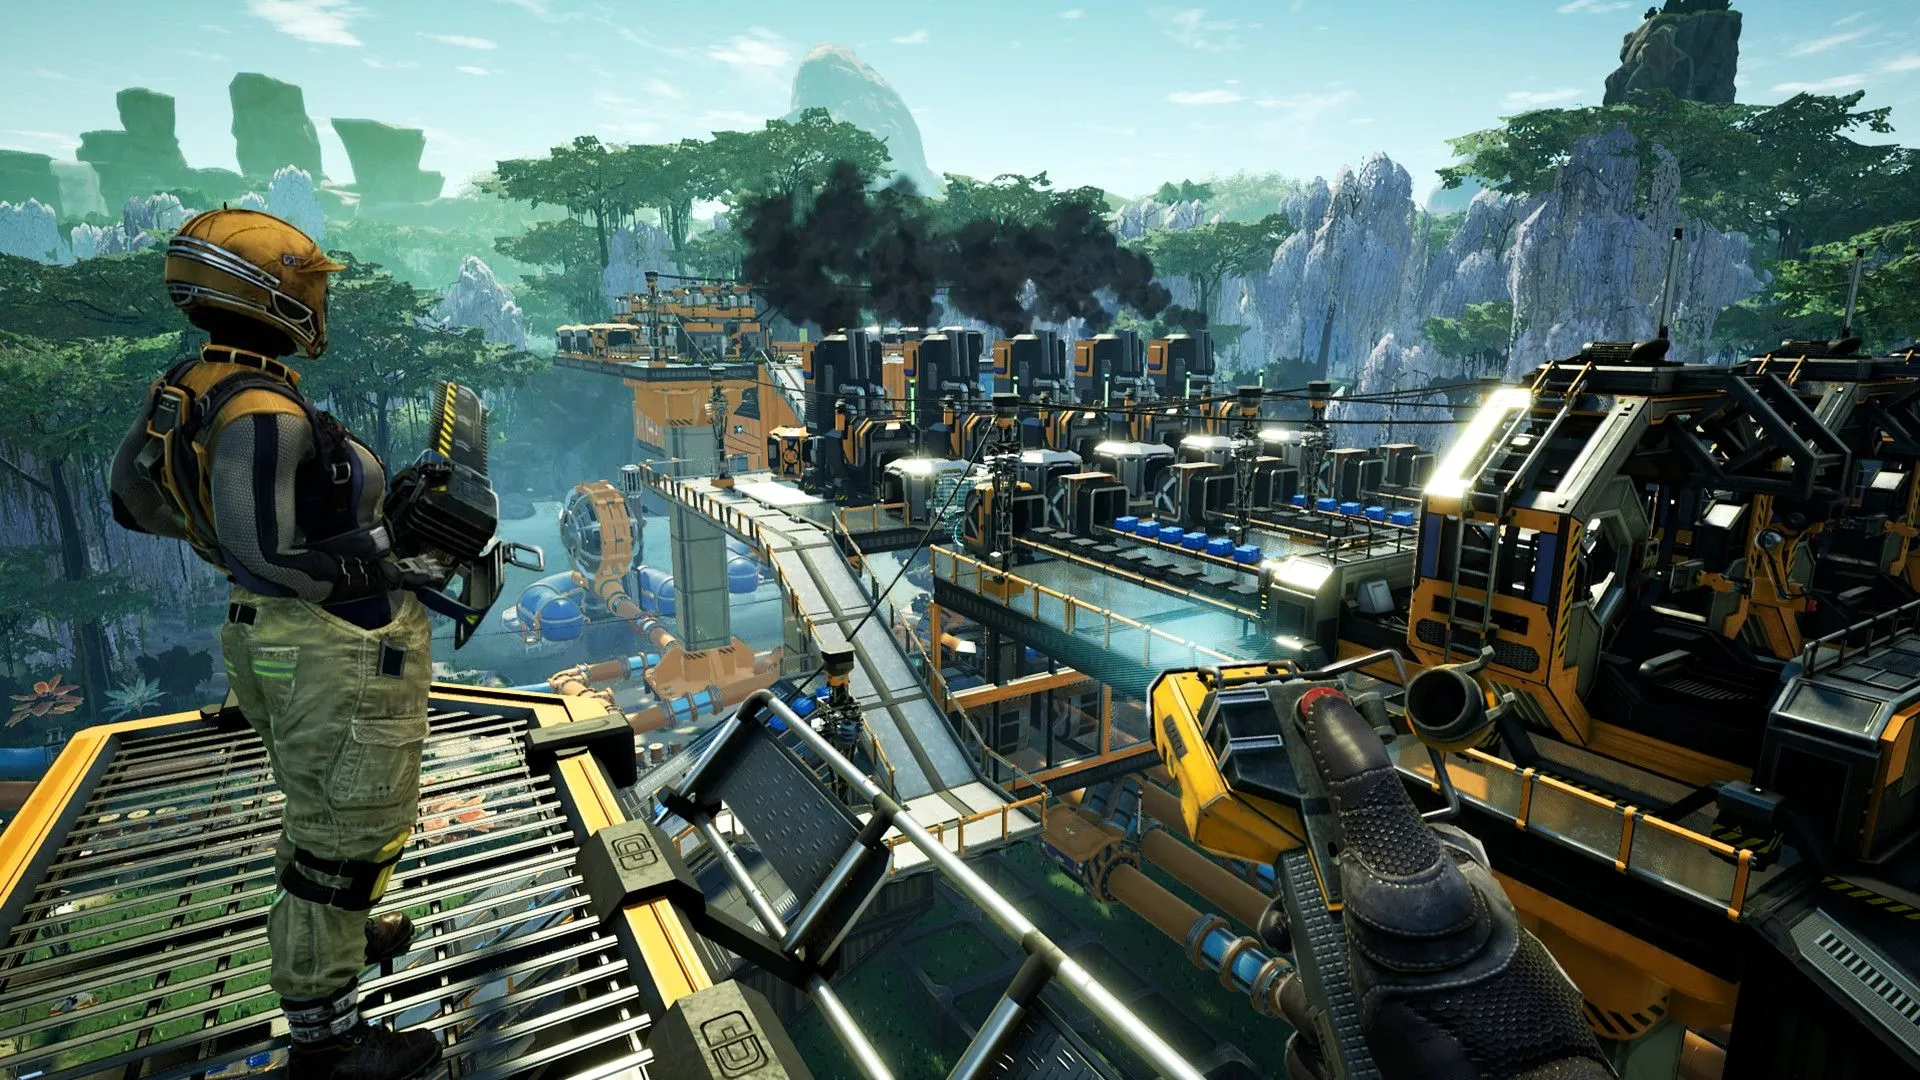
Satisfactory is a first-person factory-building game that blends exploration, logistics, and large-scale automation into a deeply satisfying loop. Dropped onto an alien planet as an engineer for FICSIT, your mission is simple on paper: exploit resources and maximize efficiency. In practice, the game challenges players with complex production chains, spatial planning problems, and long-term optimization decisions that can spiral out of control if handled poorly.
This guide is written for players who want to build smarter factories, avoid common bottlenecks, and progress smoothly from early biomass setups to massive late-game megabases. Whether you are new to Satisfactory or restarting with better knowledge, these tips and strategies will help you plan ahead, scale efficiently, and keep your factory running smoothly.
Understanding the Core Gameplay Loop
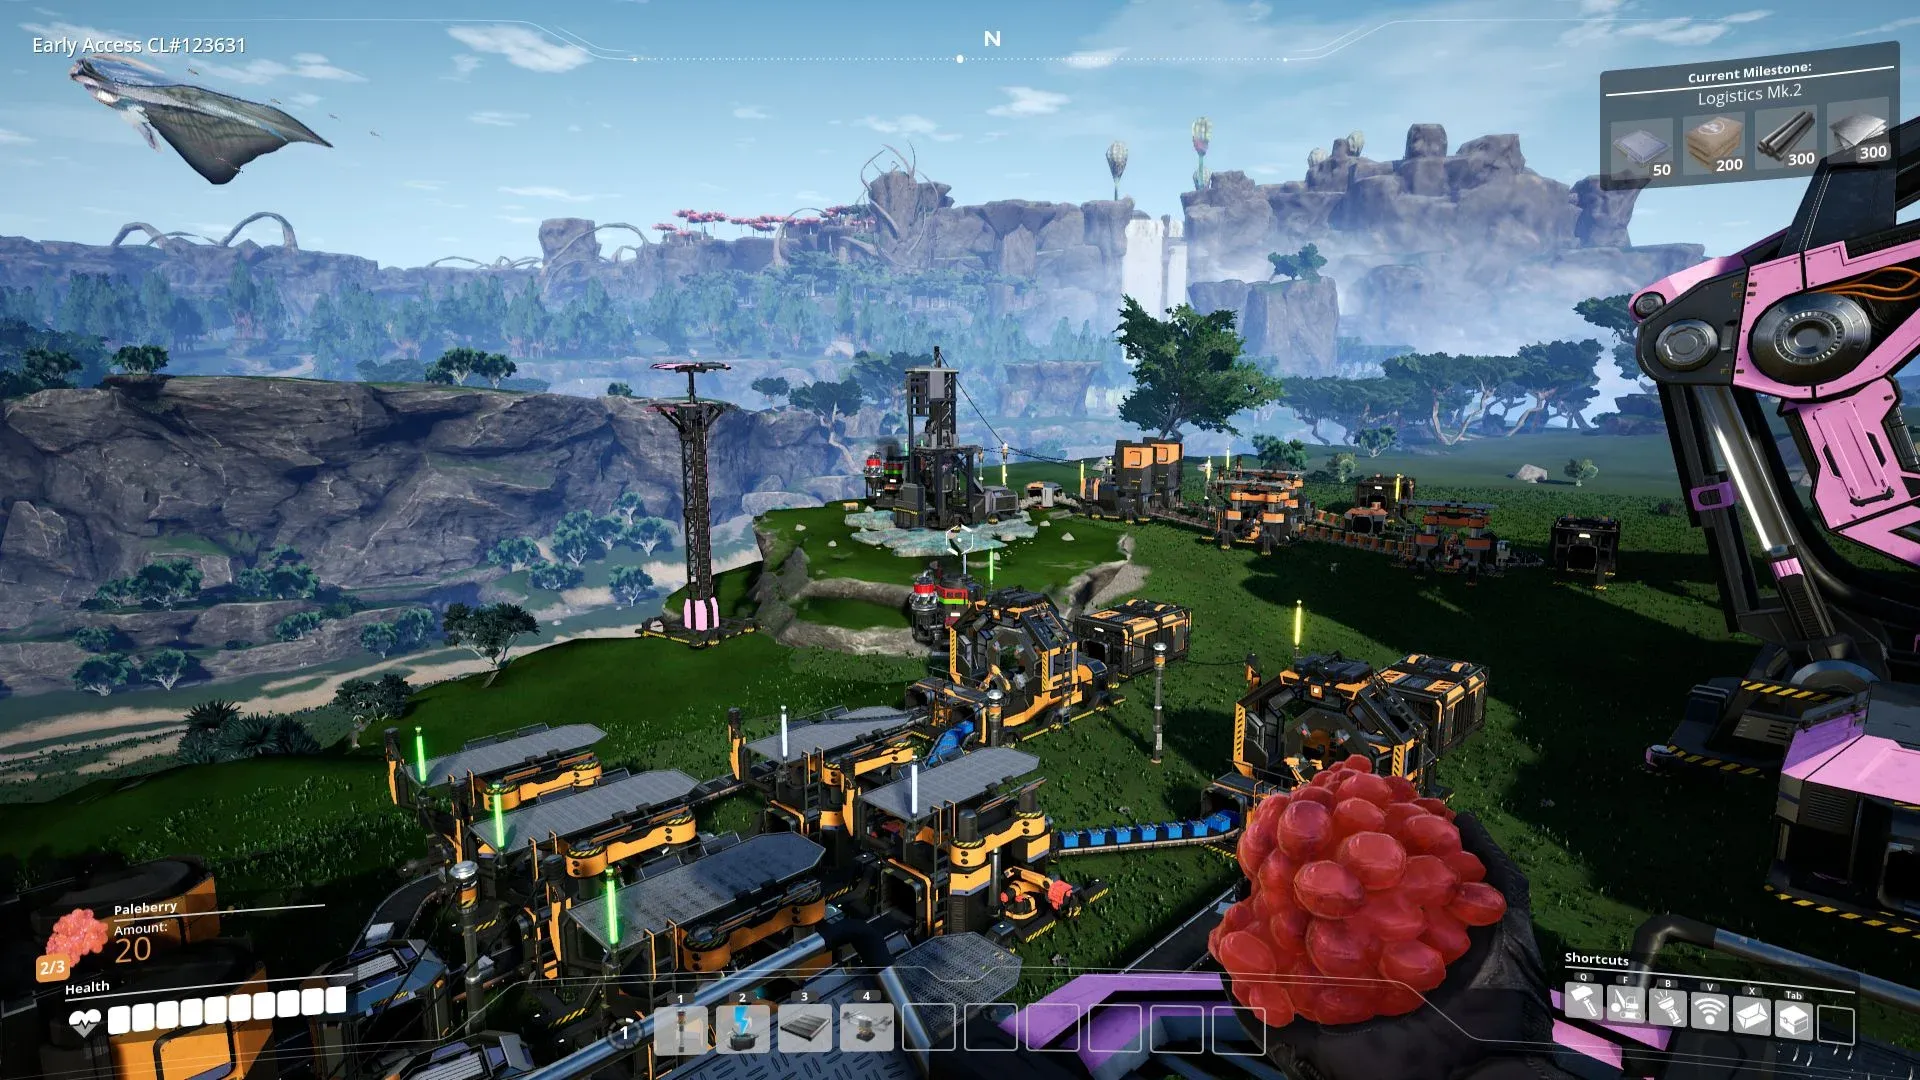
Satisfactory revolves around a repeating loop of exploration, resource extraction, production, and expansion. You explore the world to find resource nodes, extract raw materials, process them into components, and use those components to unlock new technology. Each step feeds into the next, creating exponential growth.
Early mistakes often come from rushing progression without understanding dependencies. Many items require multiple intermediate components, and skipping planning leads to tangled conveyor belts and production dead ends. Learning to slow down and build clean systems early pays off later.
The game rewards foresight more than speed. A well-planned factory that produces fewer items consistently is better than a chaotic setup that breaks whenever demand increases.
Choosing the Right Starting Location
Your starting biome influences the entire early and mid-game experience. Areas with abundant iron, copper, and limestone allow smoother progression without long supply lines. New players benefit greatly from starting in resource-rich, flat zones.
Terrain matters just as much as resources. Flat land simplifies building layouts and conveyor routing. Steep cliffs and uneven ground increase construction time and often force awkward solutions.
Exploration should begin early. Even if you don’t relocate your main base, identifying nearby nodes and future expansion areas prevents painful redesigns later in the game.
Early Game Automation Fundamentals
Early automation is about establishing consistency rather than scale. Automating iron plates, rods, screws, and wire as soon as possible removes repetitive manual crafting and frees time for exploration and planning.
Efficiency matters even early on. Ratios between miners, smelters, and constructors should be respected to avoid resource waste or idle machines. Learning basic throughput math early simplifies every future build.
Avoid the temptation to overbuild. Early factories are temporary, and building massive setups before unlocking better belts and miners often results in demolition later.
Power Generation and Energy Stability
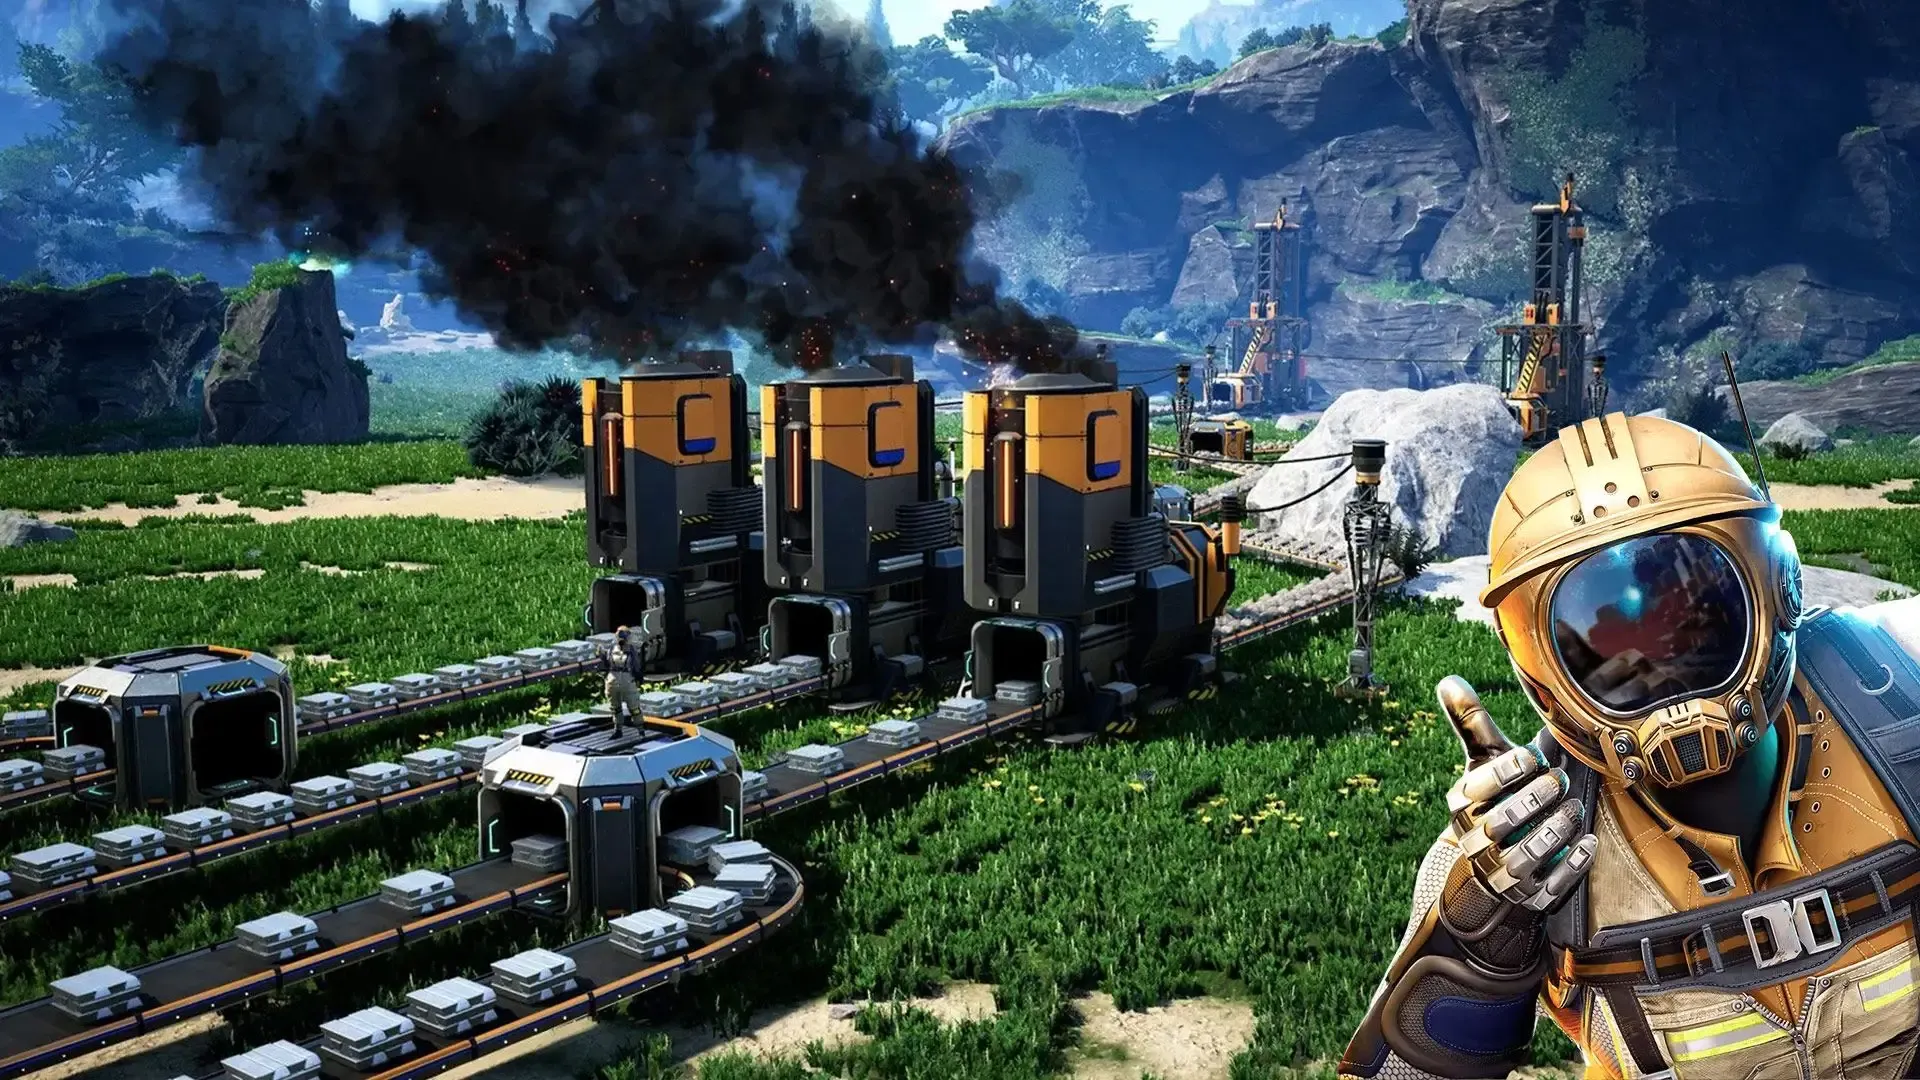
Power is the backbone of your factory. Early biomass burners require constant refueling, which can interrupt production at the worst times. Automating biomass as soon as possible stabilizes early gameplay.
Coal power marks the first major turning point. It provides consistent energy without manual input but requires careful setup. Water flow, pipe layout, and coal supply must all work perfectly to avoid shutdowns.
Later power systems, such as fuel and nuclear energy, introduce new challenges. These systems reward careful planning and redundancy, ensuring that power shortages never cripple the factory.
Conveyor Belt Management and Layout Design
Conveyor belts are the arteries of your factory. Poor belt management causes congestion, inefficiency, and confusion. Clean, organized belt layouts improve readability and simplify troubleshooting.
Verticality is your friend. Using lifts and stacked conveyors keeps floors clear and allows modular expansion. Horizontal sprawl without structure quickly becomes unmanageable.
Color-coding belts and using consistent directions improves navigation. A factory that is easy to read is easier to optimize and expand.
Modular Factory Design Philosophy
Modular design is one of the most important concepts in Satisfactory. Instead of building one massive interconnected factory, divide production into smaller, specialized modules.
Each module should have a clear input and output. This allows you to upgrade or replace sections without dismantling the entire system. Modular factories scale far better into the late game.
Spacing is critical. Leaving room for additional machines, faster belts, and upgraded miners prevents painful rebuilds when production demands increase.
Logistics, Storage, and Item Flow
Storage management becomes increasingly important as production grows. Without proper buffers, fluctuations in demand can cause machines to stall or overflow.
Centralized storage hubs help track inventory and simplify crafting. Sending excess production to storage rather than clogging belts keeps systems flexible.
Item flow should always move forward. Avoid loops unless intentional, as they often hide inefficiencies and cause unpredictable behavior in complex factories.
Exploration, Hard Drives, and Alternate Recipes
Exploration is not optional in Satisfactory. Hard drives unlock alternate recipes that dramatically improve efficiency and reduce resource consumption.
Alternate recipes often allow better ratios, fewer machines, or alternative materials. Choosing the right recipes can halve factory size or double output.
Exploration also provides power slugs, which overclock machines and reduce space requirements. Smart use of overclocking simplifies compact builds.
Mid-Game Scaling and Factory Expansion
The mid-game introduces more complex components like motors, computers, and heavy modular frames. These items require multiple production chains working together.
Scaling production requires discipline. Doubling output is rarely as simple as adding more machines. Power, belt capacity, and input supply must all scale together.
At this stage, many players benefit from building satellite factories dedicated to specific components rather than expanding the main base endlessly.
Late Game Optimization and Megabase Planning
Late-game Satisfactory is about optimization, aesthetics, and performance. Megabases demand careful planning to avoid frame drops and logistical nightmares.
Efficient megabases rely on clear zoning. Production, logistics, power, and storage should each have dedicated areas connected by organized transport systems.
Optimization never truly ends. Players who enjoy Satisfactory long-term focus on refining layouts, improving ratios, and pushing efficiency to the limit.
Conclusion
Satisfactory is a game about thinking ahead, solving problems, and finding joy in efficiency. While it may seem overwhelming at first, its systems reward patience and planning more than speed. Every factory, no matter how small, teaches lessons that improve future builds.
By mastering automation fundamentals, designing modular systems, and embracing exploration, players can transform chaotic beginnings into elegant industrial masterpieces. With the right mindset and strategies, Satisfactory becomes not just a game, but a creative engineering playground.
160-Character Summary
A complete Satisfactory guide covering automation, power, logistics, modular factory design, exploration, scaling, and late-game megabase optimization.